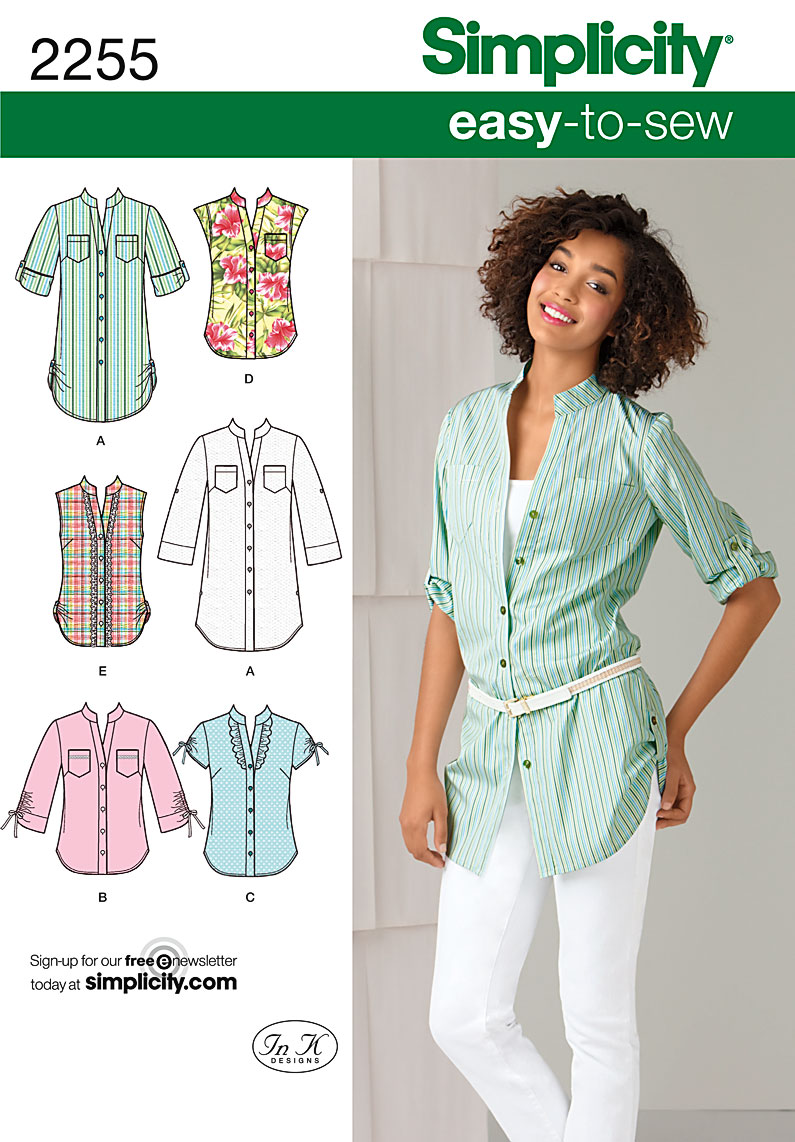
So now it's time to start sewing for fall, and you can't have too many shirts with sleeves to wear with jeans! Simplicity 2255 has so many great options. Some of you have made versions that look so great, better than the pattern envelope, in my opinion.


I want desperatly to make this my TNT pattern...so I started with a muslin.
I started with a size 14, here's how it looked...


This needs work! Starting with the front, see the pulling at the bust? It needs an FBA.
I had a different bra on when marking the bust points. The one I'm wearing here is more lifting. Different bras make a huge difference!
I lowered the dart about 1/2 inch.
The waist mark is low, so I'm going to shorten it at the horizontal lines.
The bottom band doesn't come together, here it needs more width!
I need a forward shoulder adjustment.
The back needs some shortening above the shoulder blades, and a full hip adjustment.
I traced the pattern and made the adjustments.
Next I made the shirt with some Alexander Henry quilting cotton I found at a warehouse-type store in Tempe Arizona last summer.


Much better! Oops, I went crazy with the buttonholes. I didn't need that top one, can you spot it?
Then I transferred my paper adjustments to the tissue pattern. (I find storing the tissue more compact than the paper tracings)

I swung the FBA adjustment out slightly at the bottom to gain more width at the hip.
I also took a small wedge from the armhole towards the bust. That might be a "hollow chest" adjusment?

The sleeve cap is pulled forward to match up with the forward shoulder adjustment.

Note the full-hip adjustment. I slashed it from inside the seam allowance under the arm and carried it all the way down to the bottom. It's about a 3/4" spread there. In my opinion, this works so much better than "grading between sizes" because the side seams stays exactly the same.
(Altho, I shaped it more at the waist)
You can also see the shortened upper section, and made a dart in the neckline, transferring it to the shoulder... (had to adjust the neck binding too)
Phew!!! Still with me????
Next up, I made the same view with a Paisley Faille I've had for a few years. It feels like peach skin, not sure what the difference is! It's very silky in a polyester way, if that makes sense, and probably won't be very warm in the winter... but... oh well. I french seam the sides and serged the rest.
This time I shaped the waist a tiny bit more.

To be true to myself, I had to make at least one mistake...
I'm positive I sewed each sleeve on the the wrong armsyce.

The faille frayed so much, I missed the notches, and sewed them in the wrong sides! I even serged them before realizing it, so there's no going back now. I'm pointing to the puffiness in the front, and it's tight in the back.
Maybe it will become a sleeveless shirt! Arrrrg.
There are many more of these to come. I really want a flannel one with with the ruffles like
Detroys' . I must have it!
Here's how I wore it yesterday, layered over a t-shirt...layering comes in very handy when dealing with pesky hot flashes, lemme tell ya!

This is our Concord Grape bounty. Off to make jelly now!